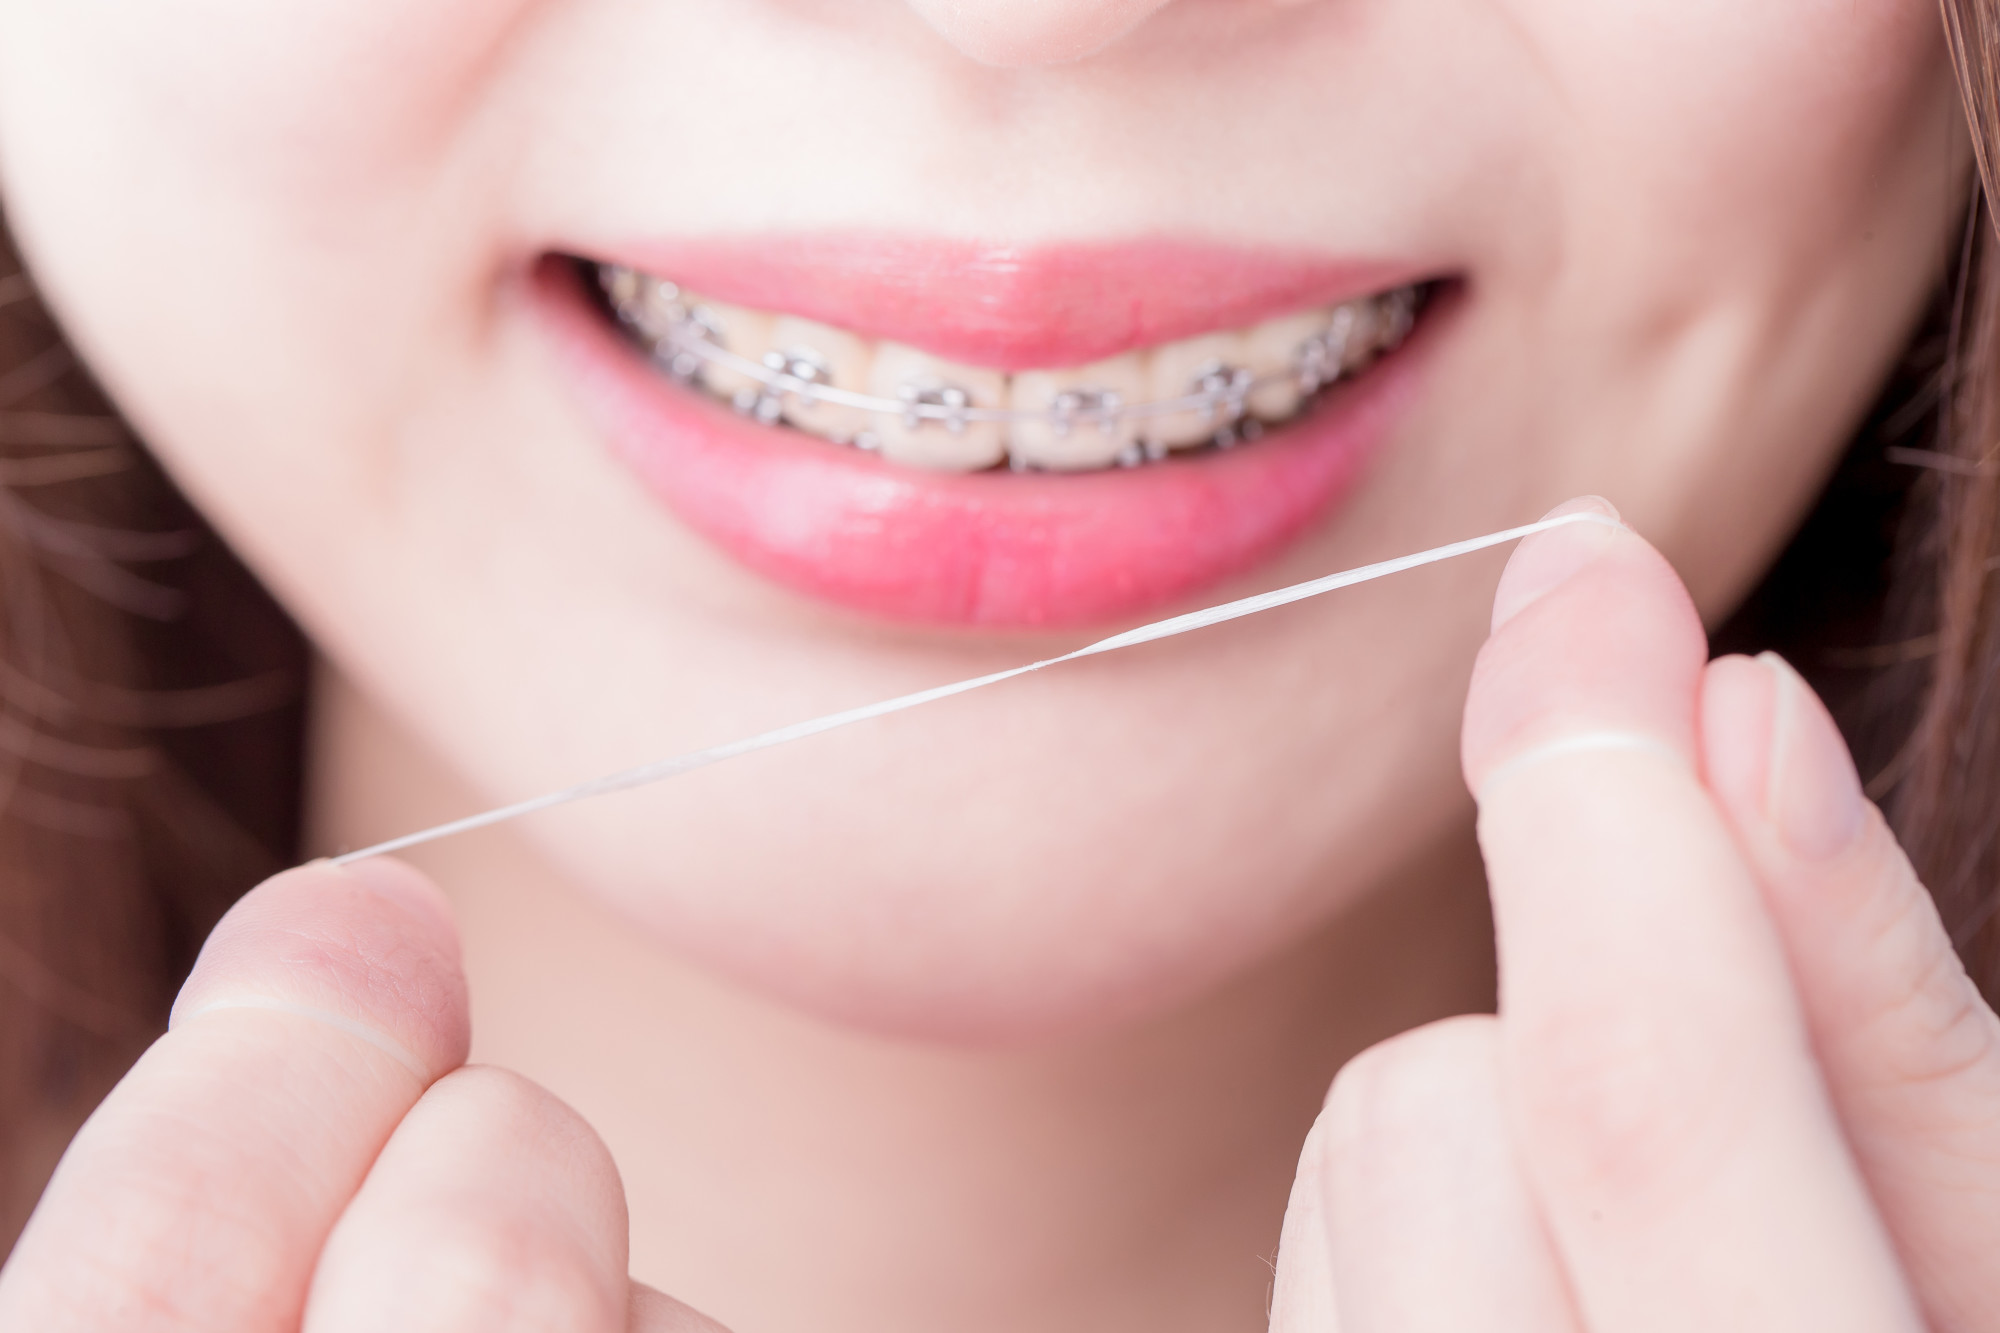
Only 30% of Americans floss their teeth on a daily basis.
As essential as flossing is to our oral health, it’s often skipped in oral care routines. But for people with braces, skipping flossing is not an option.
Flossing with braces is more difficult and time-consuming than it is for people without braces. But with 5 helpful tips that teach you how to floss with braces, you can make it part of your routine without any inconvenience.
To learn why and how you should be flossing with braces, read this helpful guide.
Why Flossing Is Important
Flossing removes particles from between the teeth and along the gumline. If you don’t remove these particles, they create colonies of bacteria called plaque.
Plaque causes a number of oral health problems. It hardens into tarter which can cause tooth loss. Built-up plaque on the teeth and gumline can also lead to tooth decay and gum disease.
Besides brushing your teeth, flossing is the most important oral hygiene practice. It disrupts plaque buildup, especially in places your toothbrush can’t reach.
How to Floss With Braces: 5 Helpful Tips
For people with braces, it’s even more important to floss. With brackets and wires, there are more places for food and debris to get stuck.
But with all the wires and brackets in the way, flossing with braces can be difficult. Use these 5 helpful tips on how to floss with braces to make the process easier.
1. Use The Right Floss
There are two types of floss: waxed and unwaxed. If you have metal brackets and wires, choose waxed floss. Unwaxed floss has a tendency to tear and get stuck whereas waxed floss can easily maneuver around your hardware.
If you weren’t one to practice flossing prior to having braces, you might find that flossing is painful. To get your gums used to the feeling of flossing, try starting with dental tape. This tape glides between your teeth with ease and it’s a lot softer on your gum line.
2. Use Enough Floss
To floss around your braces, you’ll need to place the floss behind the wire and around the tooth that you want to floss. Then you’ll wrap the ends around one finger on each hand. This will help you move the floss up and down between your teeth.
Because of the hardware on your teeth, you’ll need a bit more room than you would without braces. Meaning that you should cut yourself a piece that’s between 18 and 24 inches.
3. Give Yourself Time
The care you have to take in placing the floss behind the wire and around the bracket will take time, especially when you’re learning the method. But it’s important that you don’t rush. Having braces means you need that extra time to do the job right.
So how much time is that exactly? Carve out 10 to 15 minutes before you brush your teeth to get your flossing finished.
4. Try a Water Pick
If you simply don’t have the patience and time to floss every day, then consider investing in a water pick. These tools send a thin stream of water between the teeth and along the gum line. Some brands even have special tools for working with braces.
A water pick only takes 3 to 5 minutes to fully clean each tooth, even with a normal tip. And they can be purchased for as little as $50.
5. Try a Floss Threader
Another helpful tool that’s a bit easier to use than traditional floss, a floss threader can be found at most grocery and drug stores. They’re small pieces of plastic with a strip of floss connected to both ends.
These are helpful for braces because you can pull the floss above the wire and up to the gum line. Plus they’re inexpensive and disposable.
More Info on Braces Hygiene
Learning how to floss with braces takes some time and patience. It’s not as easy as flossing without braces, but it’s just as important. If you simply don’t have the time to do it, then consider investing in a water pick or using a floss threader instead.
And for more helpful tips for braces, Invisalign, and other orthodontia, be sure to check our blog regularly.

